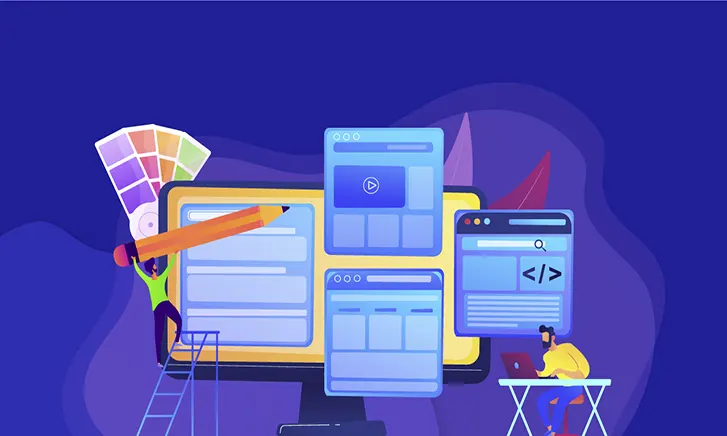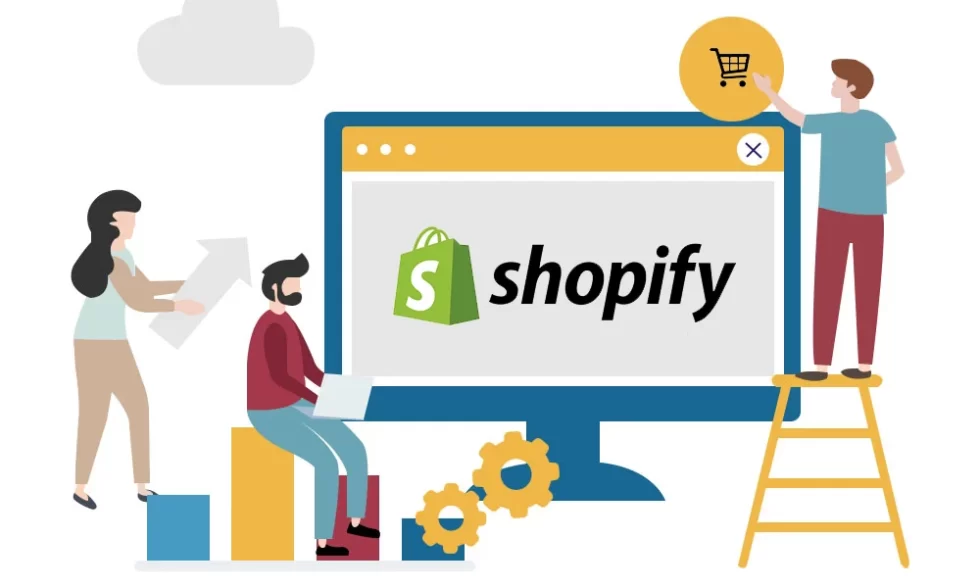
Shopify Website Development
Do you want to create an online store and sell on Shopify? Great! It is the most efficient way to accelerate your business. And it is also one of the easiest. With platforms like Shopify, you can build a robust website from scratch and start selling online in hours.
In this guide, we will share the process of building ecommerce websites using Shopify. At web design Vancouver, we follow this same process to help traditional entrepreneurs move their products and services online. To learn more, take a look at our Shopify ecommerce website creation services.
If, however, you want to become a Shopify web designer and want to create your site yourself, this tutorial will guide you step by step. We will explain how the Shopify platform works and show you some great examples of websites in different niches so that you can feel inspired to start your own store.
Ready to get started? Let’s go!
First, what is Shopify?
Shopify is one of the best website builders and content management systems built specifically for ecommerce businesses. It is flexible and feature-rich and offers everything you need to build and manage your ecommerce store. It allows you to customize your design and add various apps that extend the functionality of your store.
Using Shopify, you can create a site that sells physical products, digital downloads, and even services.
As of this writing, 1,868,930 merchants around the world have created their websites with Shopify, according to BuiltWith. In Canada, there are currently 10,164 sites built with Shopify. If you want to hire a Shopify web designer then you are at the right place. We provide the best service of Shopify Vancouver because we have a team of Shopify web developers.
How much does Shopify cost?
There are several costs associated with setting up an ecommerce site, any site, not just a Shopify website. When you hire a Shopify consultant he will tell you about the cost. Some of your main expenses include hosting costs, payment processing costs, web design costs, costs for add-ons and extensions, marketing costs, and so on. You need to be able to cover these costs regardless of which ecommerce platform you choose. If you want to need more information then you can ask Shopify Vancouver office about your query.
Shopify itself is an affordable platform. It lets you build a website starting at $ 29 per month if you choose a basic plan.
Here is a detailed breakdown of the cost of building a Shopify ecommerce site:
- Custom domain: Pricing for domains purchased through Shopify starts at $ 11 USD per year. However, you can get a domain name on any other third-party site for a lower price and link it to your Shopify account.
- Shopify Monthly Subscription: Ranges from $ 29.99 per month for “Basic Shopify” to $ 299.99 per month for “Advanced Shopify”)
- Theme: Shopify offers some free basic themes as well as a number of convenient options. There are over 70 templates on Shopify, 9 of which are free. Costs for paid themes range from $ 100 to $ 180.
- Custom Shopify Website Design: If you want to get a website with a custom design, expect to pay between $6,000 and $ 20,000 on average, depending on the complexity of the project and the agency you hire. We don’t recommend doing this if you’re just starting your e-commerce journey. Not just because it’s expensive. The free and paid Shopify themes are quite flexible and can be easily customized to fit your unique brand look. You can always invest in a custom design later when your online store starts to grow.
- Additional Development Needs: Whether you need more advanced features or require extra development work, this can quickly raise the price of your Shopify website project. Software developers in Italy charge an average of $ 60 per hour. You can speak to our Shopify experts to get a quote for additional Shopify ecommerce development work if needed.
Create a website on Shopify by following these steps
Now that if you are a Shopify expert and how much it costs to start a website, you may be wondering how exactly you can create a site using Shopify. We will explain it step by step.
Sign up for Shopify
You may have guessed right. First, you need to sign up for an account.
As you can see, Shopify offers a generous 14-day free trial, so you can create an account and build your store without spending any money. If you don’t know how to signup then you can consult our Shopify setup experts.
Add products
On Shopify, you can sell different types of products, including physical products like food, digital goods like ebooks, services like legal advice, experiences like rock climbing adventures, or even subscriptions like recurring yoga classes.
Title, description, photo
To add a product, specify the title, description and add a high-quality photo that puts your product in the best light. Make sure your title makes it clear what the product is and that your description communicates what your customer needs to know about your product to feel confident about buying it.
Here’s an example of a product I added to Shopify to show you how to correctly spell the title and description:
Prices
Specify the price of your product in the field below. In Shopify, you can use the Compare Price field to let your buyers know how much the product would normally cost, especially in the case of sales.
Inventory
Unless you’re dropshipping or selling services, you want to track products sold in Shopify to know how much you have left. Specify SKU (storage unit), Barcode (ISBN, UPC, GTIN, etc.) and fill in the available quantity of the product.
If it doesn’t take long to get a product when all your items have been sold, you can tick the Keep selling when out of stock box. Otherwise, your product will be marked as “Out of Stock”.
Shipment
In the Shipping section, enter the weight of your product and fill in CUSTOMS INFORMATION if you plan to ship abroad.
Product status
In the Product Status section, on the right, you should specify where you want to sell your product (Facebook or Amazon stores), product type, manufacturer, collection and tags.
Preview ad for search engines
At the end of this page, you can see how your product listing will look in Google search results. You can edit SEO data such as Page Title, Description and URL.
Collections
You can organize your products into collections based on the audience you sell to (e.g. men, women, children) or a type of product (mats, accessories).
Where can you use the collections?
- On your Home page. You can group certain products that you want to show in a section of your home page.
- In the navigation menu of your website. This way people can easily access your catalog.
- In the “discounts” section of your website. You can group the products you want to sell at a discount into one collection.
How to add collections on Shopify? To create a collection, click Collections on the left and fill in the title and description of the collection. The title will be displayed on this page. You can also add an image and edit the SEO title and description.
Add pages
To add pages to your website, you need to click on Online Shop on the left and then on Pages.
What pages can you add?
- Who we are. You obviously want people to know about your brand. Sharing your story with your website visitors will add credibility and help you build trust with your customers.
- Frequent questions. On this page, you can answer some of the most common questions your customers might have about your products, shipping, returns, and other details.
- Contact us. In case your customers have questions that you haven’t answered in the FAQs, they should be able to contact you via the contact page. Most Contact Us pages have a contact form to make it easier for site visitors to leave a message. You can add this form automatically, using the Theme Template on the right, and choosing the contact template.
- Policy. Shopify allows you to set up legal pages (returns policy, privacy policy, shipping policy, terms of service) under Settings Legal. Be sure to customize these policies based on your business and local laws.
After adding content to your pages, be sure to customize the search engine list preview as well. Your URLs need to be readable and clear to your audience, and you want to create an SEO title and description based on how you want the page to appear in search engine results.
At Curb Digital, we help entrepreneurs create original, search-optimized content for their websites. We write content for the following pages:
- home page
- Product pages
- Collection pages
- Who we are
- Contact us
- Frequent questions
- Blog + a blog post announcing the launch of your website.
Personalize your shop
To make your website look its best, you need to choose a theme. Go to Online Store Themes in Shopify and choose from a range of free or paid theme options here.
Here are some things to keep in mind about Shopify themes:
- Each Shopify theme is customizable, so you don’t need to pay much attention to colors, images, fonts, and even sections. You can change them all when you start customizing your theme to reflect the unique look of your brand. You can also rearrange sections and add new ones.
- Shopify themes have several built-in features, so be sure to check out different themes to see if they offer the features you need. You can also find free or paid apps on the Shopify App Store to get additional features for your website.
- Whichever theme you choose, you’re not stuck with it. You can change it later without having to recreate your products or pages.
Once you’ve chosen a theme, you can start customizing it. Just click Customize and start working on the look of your website.
On the left, you have all the tools you need to add images, showcase your collections, prioritize the main navigation paths you want to offer customers, and more.
To change the colors and typography, click Theme Settings. Here you can also change the look of your checkout and customize how it works. For example, you can choose whether you want customers to create an account at checkout, if you want customers to check out with their phone number or email, or just using email, if information like name or company name is required at checkout and more. You can also set up an automatic reminder email for shoppers who have abandoned checkout before completing their purchase.
If you are having difficulty customizing your website, please do not hesitate to contact us. In our e-commerce site creation service, Shopify provides theme customization. Fill out our form to tell us about your business and we will get to work asap.
Set up your shipping
There are several shipping options that you can set up in Shopify. For example, you can offer free shipping for orders that exceed a certain price, allow your customers to choose a carrier and the price they want, set flat rates for all products, or even offer local pickup/delivery.
Here are the types of shipping costs you can set in Shopify:
- Flat rate shipping cost regardless of what is in the cart. For example, you can set up regular shipping that costs $5 or expedited shipping that costs $ 15. These two rates will appear as options in your checkout for any customer’s order.
- Price-based rates with minimum and maximum cart values for flat rate shipping rates. For example, you can set a flat shipping rate of $ 4 for orders under $ 50 and a flat shipping rate of $ 10 for orders over $ 50.
- Weight-based rates with minimum and maximum cart total weights for flat rate shipping rates.
- Free shipping rate
- Shipping rates calculated by carriers or apps
To implement your shipping strategy, go to Settings> Shipping & Delivery.
Set your taxes
Shopify provides a way to collect taxes every time someone buys from your store. You will be able to see how much tax you have collected in Analytics> Sales Report.
To set up taxes, go to Settings> Taxes. Here, you can use Shopify’s default tax rates worldwide or override the default tax settings if there are specific requirements for your region or the products you sell.
Before setting up your taxes, be sure to consult with an accountant.
Set up payments
Shopify offers a variety of payment options. You can accept major forms of payment using Shopify Payments and pay 0 in extra transaction fees. You can also choose from over 100 third-party payment service providers that include PayPal.
Shopify allows you to enable payments in different currencies and offers one-click payment options such as Apple Pay and Shopify Pay.
To set up Payments, go to Settings> Payments.
Launch your shop
We have gotten to a point where you can finally launch your website.
All you need to do to make your shop public is to disable password protection in Online Shop> Preferences.
Your website is now completely ready to accept your first orders!
Another thing…
Do you want to connect your products to other sales channels?
No problem! You can do this with Shopify. Here is a list of sales channels that you can link to your website:
- Shopify POS
- Facebook shop (on your Facebook page)
- Instagram (you can sell via product tags in your Instagram posts)
- Amazon
- eBay
- Google (you can sell via the Shopping tab in Google search results)
- On other websites (you can install the Buy Button to embed your products on any web page)
To add sales channels, go to Settings> Sales Channels> Add Sales Channels and click the + button next to the sales channel.